Consistent clinical outcomes in full-arch implant dentistry depend on a reproducible hybrid denture restoration workflow. From initial digital scanning through material selection, framework design, try-in verification, and final torque protocols, each stage carries specific decisions that affect long-term prosthetic success. This guide walks through the complete clinical sequence with current evidence.
Ready to submit your first digital hybrid denture case? Submit your scan data through Next Dental Lab’s digital workflow portal and receive case design support from our experienced team.
Hybrid Denture Restoration Workflow: How Does Digital Scanning Transform Case Planning for Hybrid Dentures?
The hybrid denture restoration workflow is a structured clinical and laboratory sequence for fabricating fixed, implant-supported full-arch prostheses using digital technology. It encompasses intraoral scanning, CBCT-based treatment planning, CAD/CAM framework and tooth design, material selection (zirconia, PEEK, acrylic, graphene-reinforced PMMA), try-in verification, and final delivery with torque-controlled screw retention. A fully digital pathway reduces the number of patient visits and improves fit precision compared to conventional impression-based methods (source: PubMed).
Every predictable hybrid denture restoration workflow begins with comprehensive data acquisition and treatment planning. The quality of the initial scan data determines the accuracy of every subsequent laboratory step. Case planning and CAD-based design support are core components of the services offered by Next Dental Lab’s hybrid denture department.
Complete Pre-Surgical Assessment
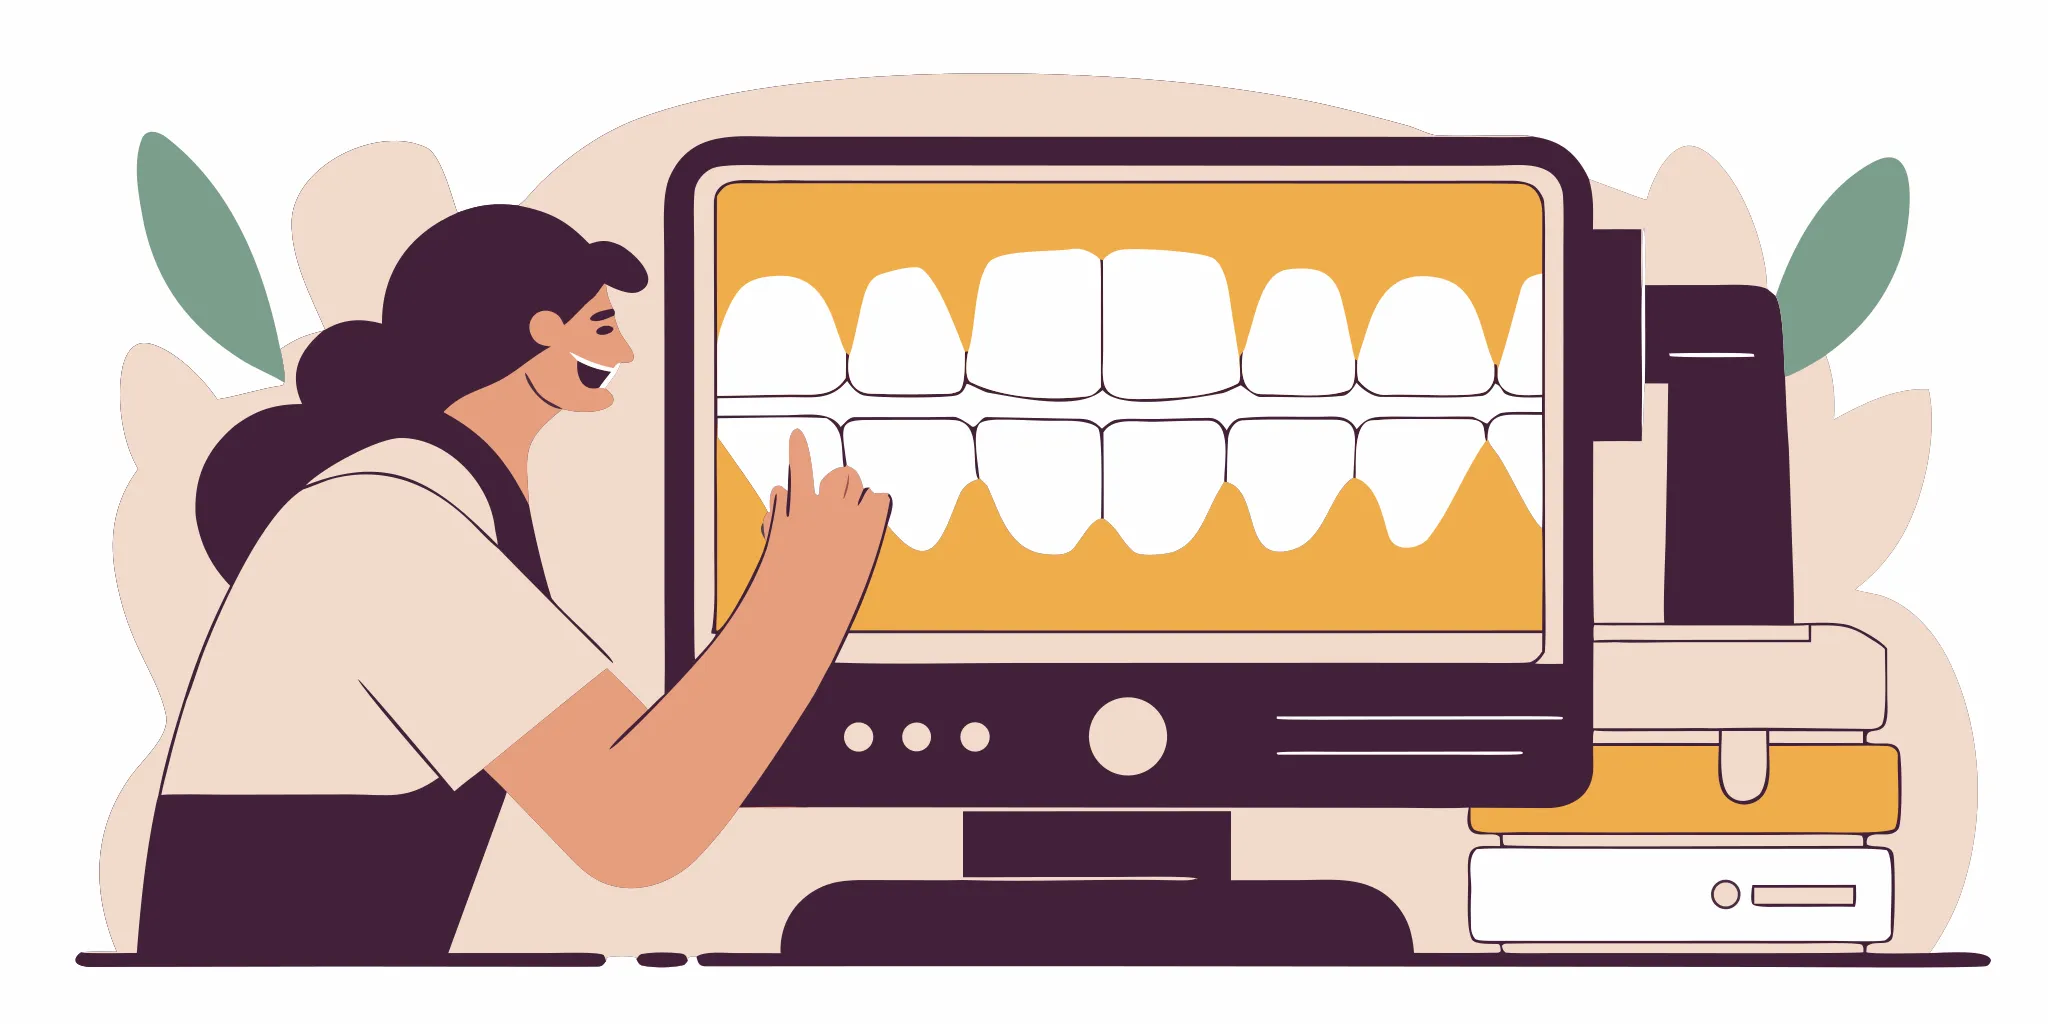
Before initiating treatment, evaluate the patient’s bone volume and soft tissue architecture using CBCT imaging. Digital planning software allows the clinician to determine ideal implant positions relative to the proposed prosthetic outcome. For full-arch maxillary hybrid cases, six implants spaced across the arch provide a stable foundation, while five implants in the mandible typically suffice. Studies confirm that a digital clinical workflow significantly improves treatment efficiency during the planning phase. This stage also establishes the occlusal vertical dimension (OVD) and defines the prosthetic space available for framework and tooth placement.
Intraoral Scanning Protocol and Digital Alignment
Digital intraoral scanning eliminates the distortion risk inherent in conventional polyvinyl siloxane impressions. The scanner generates a precise three-dimensional map of the arch. For implant-level impressions, scan bodies must be fully seated and captured with clear emergence profiles. A custom scan body placed on an anterior implant functions as a fixed reference point for digital alignment. An anterior jig registered at the established OVD provides a stable centric-relation bite record that the laboratory can reproduce in CAD software.
Data Verification and Laboratory Communication
Before transferring files, inspect the digital mesh for gaps, motion artifacts, or blurred marginal detail. Confirm that all scan bodies are clearly visible and that the bite registration is locked. Cloud-based case submission through Next Dental Lab’s digital scanner form enables direct file transfer with minimal turnaround time. Our CAD/CAM team reviews each case for data integrity before initiating framework design, reducing the need for rescan appointments.
Which Restorative Material Works Best for Each Hybrid Denture Case?
Material selection in the hybrid denture restoration workflow must align with the patient’s parafunctional risk profile, esthetic demands, and available vertical space. Contemporary options extend well beyond traditional acrylic and cast-metal frameworks to include high-performance polymers and monolithic ceramics.
PEEK Frameworks for High-Impact Loading
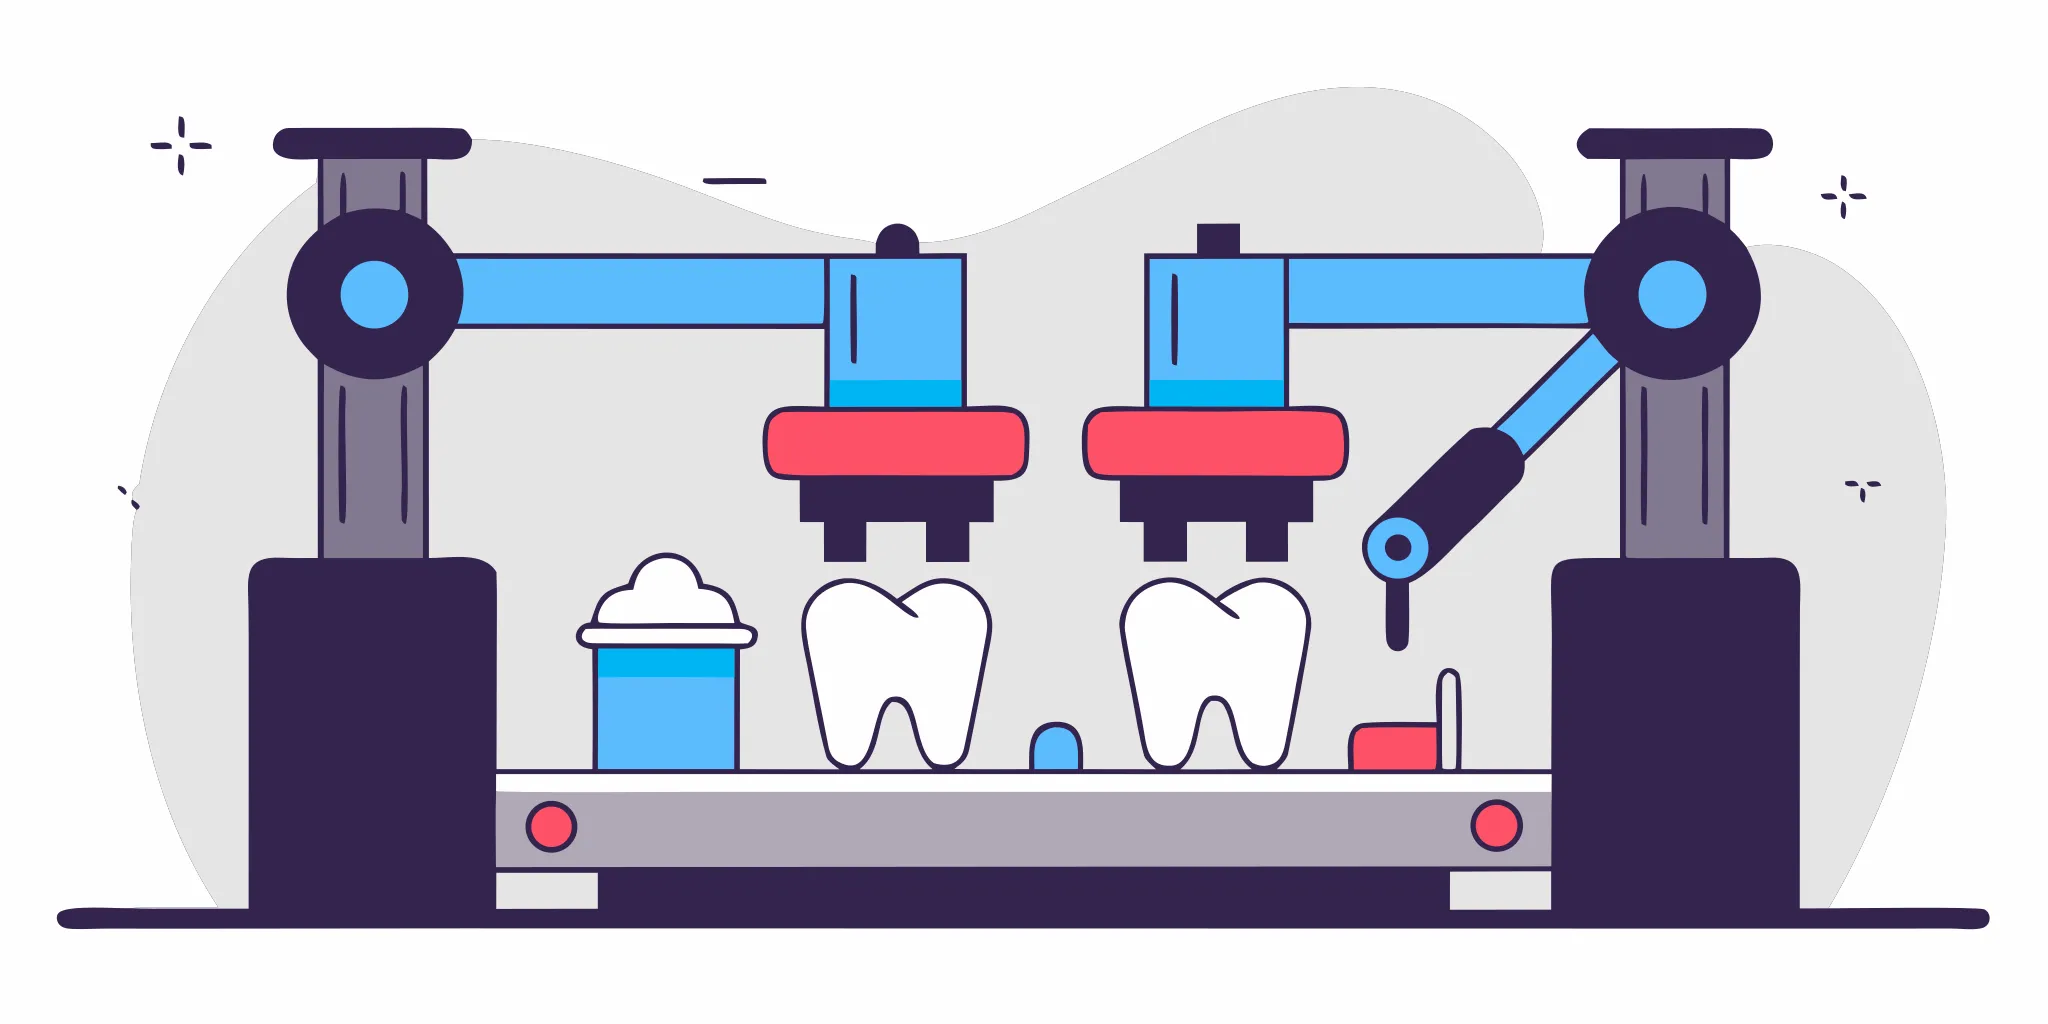
Polyetheretherketone (PEEK) offers a modulus of elasticity similar to human bone, which may reduce stress transmission to supporting implants. Its shock-absorbing properties make it suitable for patients with heavy occlusal forces or bruxism. PEEK frameworks are typically veneered with composite or graphene-reinforced PMMA. Research demonstrates that milled graphene-reinforced PMMA pucks fabricated through digital workflows produce durable interim and definitive prostheses (PubMed).
Monolithic Zirconia for Maximum Esthetics
For patients with high smile lines or thin gingival biotypes, high-translucency zirconia delivers the most natural optical properties. Multilayer zirconia blocks provide gradient shading from cervical to incisal, eliminating the need for layered porcelain. Zirconia resists staining and chipping better than acrylic-based materials. CAD/CAM milling of high-translucency zirconia achieves marginal accuracy within clinically acceptable thresholds.
Acrylic with Titanium Reinforcement
Acrylic resin retained by a milled or cast titanium bar remains a reliable option for patients who may require future prosthesis modifications. Acrylic is repairable in the laboratory without discarding the entire framework, which reduces long-term replacement cost. Although acrylic wears faster than zirconia, it remains appropriate for cases where economic factors or provisionalization timelines take priority.
| Material | Framework Type | Primary Advantage | Best Clinical Indication |
|---|---|---|---|
| Zirconia | Monolithic or barless | Optical translucency and stain resistance | High-esthetic demand, thin gingiva |
| PEEK | Polymer substructure | Stress-absorbing modulus | Bruxism, heavy occlusal forces |
| Acrylic | Titanium bar | Chairside and laboratory repairability | Interim prostheses, economic considerations |
| Graphene-reinforced PMMA | Milled monolithic | High flexural strength in thin sections | Digital-workflow-optimized long-term temporaries |
Considering a hybrid denture case for your practice? Contact Next Dental Lab for material consultation and framework design support tailored to your patient’s clinical presentation.
Bar vs Barless: How Do You Choose the Right Framework Design?
Framework design is one of the most consequential decisions in the hybrid denture restoration workflow. The choice between a bar-supported and a barless (screw-retained abutment-level) design affects passive fit, esthetics, cleansibility, and prosthetic repair access. Dental implant restorations at Next Dental Lab are fabricated using either approach depending on implant distribution and available restorative space.
When to Specify a Bar-Supported Framework
Bar-supported designs connect all implants with a continuous metal or PEEK substructure. This approach distributes occlusal load across the entire implant platform and is indicated when implants are positioned in a non-ideal arch form or when distal cantilevers are required. The National Institutes of Health notes that metal frameworks effectively distribute functional stress across the implant system. Bars also provide additional retention when vertical space exceeds 12 mm.
When a Barless Design Provides Better Outcomes
Barless designs attach the prosthesis directly to multi-unit abutments without an intervening substructure. This configuration allows for more natural gingival contours and significantly improves the patient’s ability to perform oral hygiene around the implant sites. Data from long-term follow-up studies confirms that accessible peri-implant tissue reduces the incidence of mucositis and peri-implantitis. Barless designs are preferable when vertical restorative space is limited (under 12 mm) and when the patient demonstrates good compliance with home care.
Clinical Decision Factors
Evaluate tissue thickness, implant parallelism, and available vertical height before committing to a design. Deep submucosal implant positions generally benefit from a bar to support the prosthesis contour, while thin tissue profiles favor the reduced bulk of a barless approach. Your laboratory technician can review digital scan data and provide a framework recommendation before the design phase begins.
Digital Try-In Verification: How Do You Confirm Fit Before Final Milling?
The try-in appointment is a critical quality gate in the hybrid denture restoration workflow. It allows the clinician to validate tooth position, occlusal scheme, and soft tissue contour before the definitive prosthesis is milled. A full-color PMMA try-in replicates the final esthetics and enables adjustments at a fraction of the cost of re-milling the definitive restoration.
Full-Color Try-In Protocol
Seat the try-in at the abutment level and verify passive seating across all implant sites. Evaluate the smile line, incisal display at rest, and midline alignment relative to facial landmarks. Confirm that lip support is adequate and that the patient can produce clear speech without the teeth clicking or interfering with tongue space. Research demonstrates that a combined digital and conventional approach helps clinical teams record accurate border data and refine the prosthetic design (PubMed).
Chairside Modifications and Digital Refinement
If the try-in reveals discrepancies in tooth position or contour, mark the changes directly on the PMMA surface and communicate them to the laboratory. After clinical approval, scan the try-in intraorally with the prosthesis in place. This digital capture aligns the approved tooth setup with the master cast in CAD software, allowing the laboratory to mill the definitive restoration to the verified contours. The digital hybrid denture workflow enables precise transfer of approved try-in parameters into the final prosthesis.
- Seat the try-in at abutment level and evaluate passive fit with finger pressure and radiographic verification.
- Assess smile line and midline relative to facial midline, incisal display, and lip support at rest and full smile.
- Test occlusion and speech with centric-relation bite records and sibilant sound production.
- Document chairside adjustments on the try-in surface for laboratory communication.
- Scan the approved try-in intraorally to capture verified tooth position in 3D.
- Submit the digital scan files with adjustment notes for definitive prosthesis fabrication.
Final Delivery and Screw Torque Protocols
Final prosthesis delivery is the culmination of the hybrid denture restoration workflow. Success at this stage depends on passive framework fit, accurate torque application, and verified occlusal contacts. Every implant screw must be tightened to the manufacturer’s specified torque value using a calibrated torque wrench.
Passive Fit Verification
Before torquing any screws, seat the prosthesis and confirm that it rests passively on all abutments without visible gaps or rocking. The one-screw test and periapical radiographs of each implant-screw access channel confirm complete seating. Any tension in the framework creates a risk of screw loosening or implant fracture over time. Studies confirm that digital clinical workflows improve seating accuracy during these final stages.
Torque Application Sequence
Hand-tighten all screws first to confirm alignment. Then torque each screw sequentially in a cross-arch pattern to the value specified by the implant manufacturer (typically 15 Ncm for multi-unit abutment screws and 25-30 Ncm for prosthetic screws). After the initial torque cycle, re-torque each screw a second time to compensate for settling. Seal the screw access channels with PTFE tape and a light-cured composite plug.
Occlusal Verification and Delivery
Use articulating paper to verify even centric contacts and smooth excursive movements. Adjust any premature contacts with fine diamond burs and re-polish adjusted surfaces. Provide the patient with written post-insertion care instructions emphasizing hygiene around implant abutments and scheduled recall intervals.
- Clean the intaglio surface of the prosthesis and all abutments with chlorhexidine.
- Seat the restoration and verify passive fit with finger pressure and radiographs.
- Hand-tighten each screw sequentially to confirm alignment.
- Torque all screws to manufacturer specifications using a calibrated wrench.
- Re-torque each screw after the first pass to compensate for settling.
- Seal access channels with PTFE tape and composite.
- Verify occlusion, adjust as needed, and provide written home-care instructions.
Long-Term Maintenance and Hygiene Protocols for Hybrid Dentures
The longevity of any hybrid denture restoration workflow outcome depends on rigorous post-delivery maintenance. Patients must understand that an implant-supported prosthesis requires daily hygiene access around each abutment, and the clinician must establish a recall schedule that includes professional monitoring.
Need a replacement hybrid denture or repair for an existing prosthesis? Next Dental Lab provides full-service hybrid denture support including repairs, relines, and replacement prostheses.
Daily Home Care for Hybrid Prostheses
Instruct patients to use interproximal brushes sized for the space beneath the prosthesis, supplemented by a water flosser set to medium pressure. These tools remove biofilm from the abutment-gingiva interface that a standard toothbrush cannot reach. The precision fit achieved through digital fabrication reduces the number of harborage areas, but daily mechanical cleaning remains essential.
Professional Recall Schedule
Schedule patients for six-month recall visits that include peri-implant probing, radiographic evaluation of crestal bone levels, and a hygiene appointment targeting the prosthesis undersurface. At the one-year follow-up, verify screw torque values. Clinical evidence confirms that consistent follow-up within a digital workflow framework supports long-term implant and prosthesis health.
Monitoring for Wear and Complications
Examine the occlusal surfaces for wear facets at each recall. Acrylic prostheses in heavy-occlusion patients may require occlusal adjustment or a nightguard after 12-18 months of function. Zirconia surfaces should be checked for glaze integrity. Evaluate peri-implant tissue color and contour; any bleeding on probing or suppuration warrants immediate intervention.
Frequently Asked Questions
How does a digital hybrid denture workflow differ from conventional impression techniques?
Digital workflows replace polyvinyl siloxane impressions with intraoral scanning, eliminating material distortion and reducing patient visits. CAD software enables the clinician and laboratory technician to collaborate on tooth position and framework design before any material is milled. The result is a more predictable fit and fewer adjustments at delivery.
What is the typical turnaround time for a digitally fabricated hybrid denture?
Case complexity varies, but a digital hybrid denture from scan submission to final delivery typically requires two to three laboratory weeks when communication and data quality are optimized. Expedited workflows are available for temporization sequences.
Can an existing conventionally fabricated hybrid denture be converted to a digital workflow for replacement?
Yes. The existing prosthesis can be scanned and digitized, allowing the laboratory to reproduce the approved contours while updating the framework material or implant connection. This approach preserves the patient’s established occlusal scheme and tooth arrangement.
What maintenance considerations are unique to barless hybrid denture designs?
Barless designs improve access for home care because there is no continuous substructure blocking hygiene tools. However, each abutment-prosthesis interface must be checked individually during recall visits, and screw-loosening events may present as a localized issue rather than a full-arch mobility problem.
Ready to Begin Your Next Hybrid Denture Case?
Next Dental Lab provides complete digital workflow support for hybrid denture restorations, from scan data review through framework design, try-in fabrication, and final prosthesis delivery. Submit your case online or call us to discuss your patient’s treatment plan.