Inaccurate interproximal reduction planning and poor scan quality are primary drivers of clear aligner setup revisions. When clinicians fail to capture deep interproximal spaces, software guessing creates fit issues that stall progress. Using a rigorous digital protocol allows for faster results and better treatment outcomes.
Looking to optimize your clear aligner cases? Partner with Next Dental Lab for high-precision clear aligner fabrication and streamline your digital workflow today.
The clear aligner lab workflow is a digital process that replaces old physical impressions and manual model making with high-precision data. This system uses STL file submissions from intraoral scanners to ensure better accuracy and faster turnaround than traditional models. By removing manual trimming and physical model work, the digital workflow allows for the virtual check of designs before final production. This protocol also enables precise planning for interproximal reduction and attachment placement, which are vital for moving teeth. According to Pan Am Dental, this shift to digital submissions reduces errors and improves the fit of the final appliance. Using these best practices helps clinicians avoid software guessing issues that come from incomplete scan data.
Gaining these clinical benefits needs a clear view of how digital submissions work with laboratory steps. The first part of our new guide focuses on the role of the digital dental lab.
How Does the Digital Dental Lab Optimize Clear Aligner Lab Workflows?
Modern clear aligner therapy relies on a smooth digital process. A digital dentistry workflow replaces old ways like taking physical molds and making models by hand. This shift allows for a clean path from the first scan to the final tooth appliance. By moving away from hand trimming and old model work, labs can ensure that each case is the same. The modern lab serves as a digital hub where your data turns into a precise tooth plan.
Transitioning from Physical to Digital Impressions
The move to digital starts with the intraoral scan. High-precision tools give data that is much more accurate than old putty molds. Sending STL files through these scanners allows for faster work and better data. This direct path removes the risk of shape changes that often happen with physical models during shipping. Physical models can warp or break, but digital files stay perfect through the whole process. Doctors who use direct digital files see fewer setup errors. Digital files provide a strong base for the whole **clear aligner lab workflow**. When you send a digital file, the lab gets a clear map of the patient’s teeth. This allows the lab to use the data in special software right away. This speed helps you start care sooner and cuts down on shipping time.
Enhancing Precision Through Virtual Validation
Once the lab gets the STL file, the work shifts to design and testing. These digital ways let the lab check aligner plans before any parts are made. This step helps the team find and fix issues in the tooth plan. Checking the plan ensures that the force on each tooth is safe before the first aligner is ever made. Testing designs in a digital space cuts the risk of making errors. This step is vital for hard cases where teeth must move with high precision. By checking the plan first, labs can confirm how the parts will fit. This leads to better results for your patients and fewer mid-course fixes. The lab can model the whole path to ensure each step is easy to reach.
Impact of Scan Quality on Laboratory Success
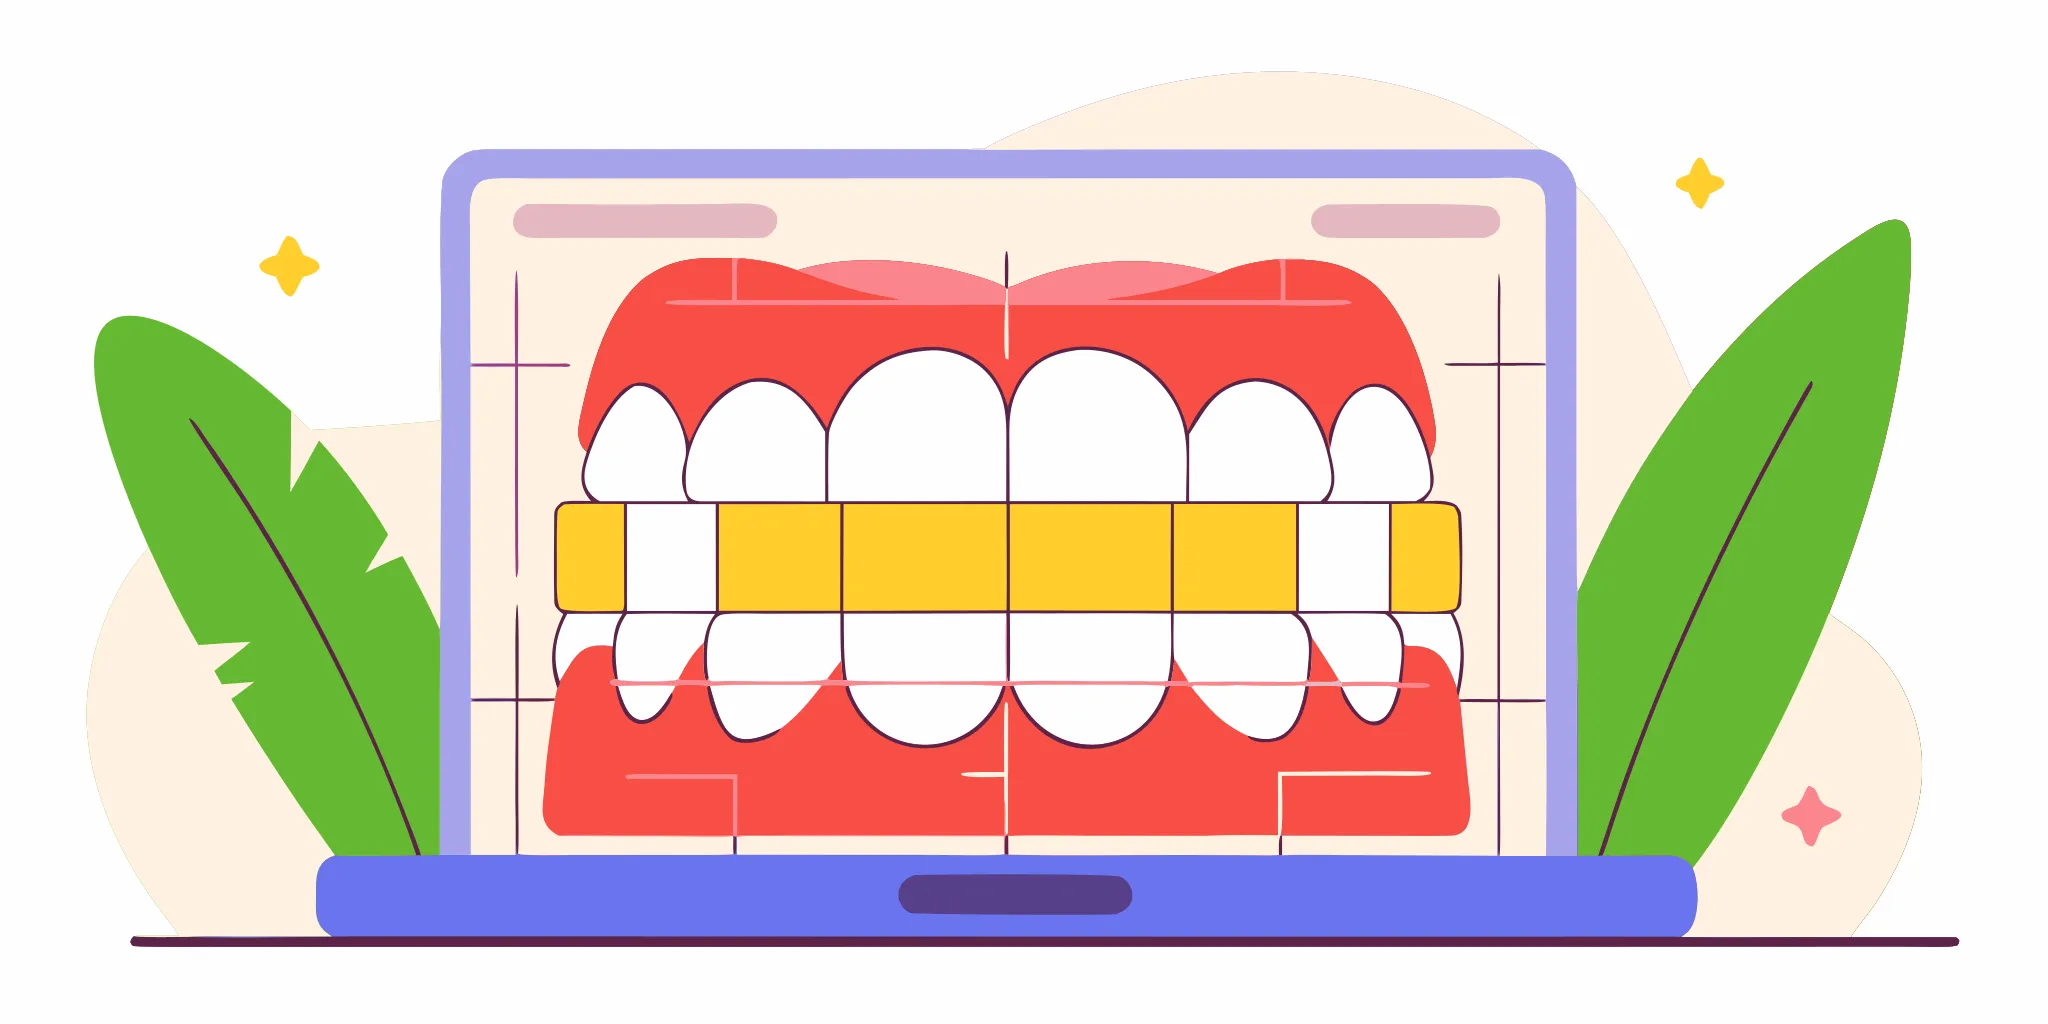
The success of clear aligner work starts with the first scan. If scan data is missing in the tight gaps between teeth, the software must guess the missing parts. Research shows that a failure to capture full interproximal surfaces often leads to a poor fit. These scan errors are a top cause of setup fixes and delays in care. High-quality scans ensure that the lab can plan the right tooth moves and attachment spots. Sending a clean STL file helps the lab make aligners that fit right on the first try. To get the best results, ensure your scans show every tooth surface in detail. You can learn more about clear aligner laboratory solutions options by connecting your scanner to a full-service partner. A clear scan reduces the need for hard cleanup when you give the aligners to the patient.
What Scanning Protocols Prevent Clear Aligner Setup Revisions?
The success of a clear aligner lab workflow depends on the quality of the initial data. Even small errors in the scan can lead to a poor fit or treatment failure. Getting a precise digital impression is a technique-sensitive task that needs a clear path for the scanner lens. When the data is not clear, the lab cannot build a proper aligner, leading to office delays.
Why Scan Accuracy is Technique Sensitive
Getting a good scan is not just about having the best tools. You must keep the teeth dry to get a clear image. Saliva can reflect light and create “noise” in the data, making surfaces look rough. Use air and gauze to dry the arch and use retraction to see the full tooth shape.
Lighting in the room can also affect the scan, as bright light can wash out the details. The scanner needs a steady hand and a set speed to avoid model gaps. Moving too fast causes the software to lose its track. Direct digital submissions should show every tooth surface in high detail to avoid errors.
A Step-By-Step Sequence for Full Arch Capture
Follow a set path to make sure the software joins the images correctly. This path helps the scanner find enough shared points to build a solid 3D model. Skipping areas or moving too fast can cause the software to lose its place. An orderly sequence ensures you do not miss any part of the dental arch.
- Start on the occlusal surface of the distal molar. Move the scanner slowly toward the midline while keeping the lens centered over the teeth.
- Pivot to the lingual surface at a 45-degree angle. Scan from the midline back toward the last molar to capture the full gingival margin.
- Roll to the buccal side. Use a steady motion to record the outer surfaces and the tooth-to-tissue interface.
- Focus on the interproximal spaces. Tilt the scanner toward the mesial and distal edges to “see” deep into the gaps between the teeth.
- Verify the bite by scanning the buccal surfaces while the patient is in maximum intercuspation.
Preventing Software Guesswork and Data Loss
When you miss a spot, the software tries to fill it in through a process called interpolation. This creates a smooth surface where there is no real data, forcing the software to guess the tooth shape. Research shows that gaps in the initial scan are a main reason for failed setups. If the software guesses wrong, the aligner will not move the tooth correctly.
Missing interproximal data is the most common error in a clear aligner lab workflow. If the scanner does not see the contact points, the aligner will not fit the true tooth shape. This leads to scan data errors that cause revision delays. Check the 3D model for holes and re-scan any missing areas to ensure a perfect fit.
Always review the STL file before you upload it and look for extra bits of data from cheeks or gloves. Clean up the scan data using the software tools to allow the lab to start right away. This step saves time and helps you get your aligners faster. Providing a full data set is the best way to keep your cases on schedule.
Why is Precision Crucial for Digital IPR and Attachment Planning?
The success of any orthodontic treatment workflows depends on how well you plan for tooth movement. High-precision setups must account for space and force to avoid clinical delays. By using digital tools, you can ensure each case starts with the right specs for IPR and attachments. This planning stage is where we map out the path for every tooth in the series.
Digital Interproximal Reduction (IPR) Protocols
Planning IPR well within the digital setup prevents crowding. This ensures that aligners can move teeth into the best spot (ncbi.nlm.nih.gov). When you send direct digital submissions, our lab team reviews the contact areas. We find where IPR will help the most. Precise IPR allows for steady tooth movement without harm to the enamel or the gums. This step is vital for cases with some crowding.

Clear digital records show where space is needed before the first tray is made. This check reduces the need for mid-course fixes. It keeps your cases on track and lowers the risk of roots hitting each other. You can name the exact amount of enamel to remove at each stage. This creates a smooth path for the teeth to move through the arch. It also makes sure the final fit is tight and stable.
A good IPR plan also looks at the shape of the teeth. We aim to keep the natural look of the smile while gaining the room needed for the move. By staging the IPR, we can make sure the space is ready just when the teeth need to shift. This avoids gaps that stay open too long. It also helps with the health of the bone between the teeth.
Optimizing Attachment Placement for Force Transfer
Attachments act as handles that give the tray a grip on the tooth. These small resin shapes allow for complex moves like root torque and rotation. Without proper attachments, the plastic may slip. This leads to poor tracking and lost time. Our clear aligner solutions use virtual models to place these shapes in the best spots. We look at the physics of each move to find the best site for each shape.
Place each shape based on the surface area and the angle of the tooth. When you bond these shapes with resin cement, the tray can exert the right force. Proper design ensures that the pressure stays on the tooth for the full wear cycle. This keeps the movement steady. It reduces the chance of a lag between the tray and the tooth. The goal is to make the most of the active surface for the plastic to push against.
The shape of the attachment also matters for the move you want. Rectangular shapes help with root control, while beveled shapes can help with extrusion. We match the shape to the force needed for that specific tooth. This level of detail is what makes our workflow stand out. It gives you the control you need for steady results in every case.
Principles of Controlled Tooth Movement
Each tray is built with the teeth in slightly new spots. When the patient seats the tray, the tooth feels steady pressure to move. The wear period usually lasts one to two weeks per tray. This constant force causes the bone to change around the root. This is the core of how clear aligner therapy works.
Steady wear is key for the mouth to adapt. The lab plans each tray to move the tooth a small amount at a time. This method protects the root from too much stress. It makes sure the teeth reach the final goal without pain or harm. A good setup balances speed with the need for clinical safety. We ensure the speed of movement is within the limits of the bone and gums.
Each step in the series builds on the one before it. If a patient misses wear time, the teeth may not reach the spot needed for the next tray. This is why we stress the need for full wear. Our digital plans show the expected path so you can track progress at every visit. This keeps the whole process clear and easy to manage for the doctor and the patient.
How Does Positive-Pressure Thermoforming Compare to Traditional Fabrication?
The clear aligner lab workflow needs exact work to turn digital plans into tools for the mouth. Old ways use low pressure to pull a plastic sheet over a tooth model. This method often fails to get fine details in the gaps between teeth. Modern labs now use high-pressure air to get a closer fit. This change in force helps the plastic stay close to the model with more detail.
The Physics of Aligner Fit
In a digital dentistry workflow, the fit of the final aligner starts with the model. If the plastic does not stay close to the 3D-printed tooth, the tool will not apply the right force. Vacuum systems use only room air pressure. This often leaves small gaps between the aligner and the tooth. These gaps can slow down the tooth movement or cause the case to fail.
High-pressure systems use air to push the plastic onto the model from the top. This force helps the plastic enter every small gap and area under the teeth. Research shows that positive-pressure thermoforming reduces shape errors a lot. This level of detail is needed to make sure the tooth moves as planned. By using both high and low pressure, the lab can control how the sheet stretches.
Engineering for Clinical Success
The design of these machines allows for better control of heat and timing. Plastic sheets must reach a set heat level before they are shaped. If the sheet is too cold, it will not mold well. If it is too hot, it may lose its strength. Modern machines track these heat levels to keep the plastic strong. This leads to a tool that is both clear and tough.
A study measured how well aligners fit using set pressure levels. The test used 400 kPa of high pressure and -90 kPa of low pressure. These settings helped the plastic wrap tightly around the 3D-printed teeth. This process cut the largest error from 1.06 mm down to just 0.4 mm. For a dentist, this means the first aligner will seat better and feel better for the patient.
| Criteria. | Vacuum Forming. | Positive-Pressure. |
|---|---|---|
| Primary Force. | Negative pressure only. | Positive and negative air. |
| Operating Pressure. | Room air pressure. | 400 kPa positive force. |
| Maximum Error. | Up to 1.06 mm. | Reduced to 0.4 mm. |
| Gap Details. | Frequent gaps. | High fit accuracy. |
| Tracking Success. | Varies by case. | High tracking rates. |
Reducing Time for Fixes
Using high pressure makes the clear aligner lab workflow more stable. When errors are low, the dentist spends less time on small fixes. High-pressure air forces the sheet to take the exact shape of the tooth model. This leads to an aligner that follows the movement plan with much better success. It also cuts the need for mid-course fixes and new scans.
Steady results are the main goal in any lab process. Old ways work for simple cases but may fail as cases get hard. Choosing a lab that uses high-pressure systems ensures that every case meets high standards. This helps dentists give better results with fewer extra steps. Good work in the lab saves time in the chair and helps the patient.
How Do Collaboration and Quality Scans Prevent Setup Revision Delays?
A smooth clear aligner lab workflow needs tight links between the clinic and the lab. When both teams work well together, cases move through the lab faster. This close bond helps stop the many setup changes that can stall a case. Digital systems now allow for quick reviews of tooth moves before any physical work starts. Using these tools right can save time for the doctor and the lab team.
Validation of Treatment Designs
New digital systems let the team test and fix tray designs before the lab builds them. This virtual step helps find small flaws that could cause a bad fit. Next Dental Lab shares these designs with dentists to ensure they match clinical needs. Checking the plan early reduces the risk of errors in the final trays. This virtual check keeps the case on track and helps avoid slow remakes. It also gives the doctor a clear look at how the teeth will move at each stage.
During this review, the lab and clinic can talk about any needed changes. This might include moving an attachment or changing how a tooth turns. These small changes are easy to do in the digital file. Once the doctor gives the green light, the lab starts the 3D print and build phase. This step is a core part of a modern digital dentistry workflow that puts quality first. It removes the guesswork that often comes with old lab methods.
Optimizing Scan Quality to Prevent Delays
Great results in clear aligner cases rely on the quality of the first scan. If the scan has errors or lacks data between teeth, the setup will face delays. Often, a scan fails to capture the deep spots between the teeth. When this data is missing, the lab software must fill in the gaps with its own guess. This step often leads to a poor aligner fit which then needs a brand new scan. Capturing clean data from the start is the best way to keep a case moving fast.
Next Dental Lab checks each scan file as soon as it comes in to find these gaps. If a scan is not quite right, the lab alerts the clinic before any design work starts. This fast feedback stops a bad plan from moving too far. It also helps the clinical staff learn how to get the best scans for future cases. Clear, full data sets mean fewer phone calls and more on-time cases for the practice.
Strategic Planning for Clinical Accuracy
The lab and clinic must also work together on IPR and attachment plans. These details are key to making sure the aligner can move the teeth as planned. Doctors can review the exact amount of space needed in the digital setup. The lab then sets these moves into the aligner set. This shared plan stops the need for changes later in the process. Clear notes from the clinic help the lab team build the best aligners. This joint work leads to better results for people and fewer office visits.
Ready to eliminate scanning errors and speed up your aligner turnarounds? Connect your scanner to Next Dental Lab today to start sending high-precision digital cases.
Frequently Asked Questions
What records are required for a clear aligner lab workflow?
To start a clear aligner lab workflow, you must send a full set of records. This includes intraoral scans, photos of the mouth and face, and radiographs. As stated by Next Dental Lab, sending digital files ensures a better fit and faster work than old models. Complete data stops the software from guessing at missing tooth parts. This helps prevent a poor fit when the aligners reach your office.
How do digital-physical workflows impact aligner design?
Using a digital-physical workflow helps labs test and fix designs before making any parts. Lab staff use software to see how teeth move and where to put attachments. This step helps cut the need for new plans later in the process. By printing 3D models and using high pressure to mold the plastic, labs can keep errors very low. This care makes sure the final tools match the plan. This leads to better results for your dental practice.
How is IPR planned in a clear aligner lab workflow?
Planning IPR in the digital setup is key to fixing crowded teeth. It makes sure the teeth move to the right spot. Digital tools help you see the exact amount of space needed at each step. As shown by research, good planning keeps the teeth from hitting each other during movement. This clear view helps protect the enamel while reaching the clinical goal. It also keeps the lab work on track.
Why is intraoral scan quality critical for aligner fit?
Success with aligners depends on high-quality scans. If a scan does not show all interproximal surfaces, the software has to guess. This often leads to a poor fit and more work for the lab. As noted in the NCBI database, bad scan data is a main cause for plan changes. You should make sure the teeth are clean and clear when scanning. This helps the lab make the best fit.
Ready to improve your clear aligner lab workflow and reduce setup revisions for your practice?
Waiting to fix your scan method causes more rework and long delays that keep your patients waiting in the chair for their clear aligner care. You can set up better scan rules today to cut down on these extra steps and get right results for every single aligner case. Every day you wait is a chance for a setup fix that costs you time and forces you to restart the entire lab sending process. Using high quality STL files now helps you avoid the high cost of redo cases and keeps your clinic running on a fast timeline.
Ready to talk to a lab expert? Call (561) 843-6766 to partner with Next Dental Lab for premium clear aligner fabrication and streamline your digital case workflow today.
