Digital workflows achieve a 50% reduction in remake rates when dentists use precise margin designs. Clear margins allow scanners to capture the exact preparation boundaries for a passive fit. High-quality crowns depend on these technical details to ensure long-term clinical success.
Ready to elevate your digital scans and clinical margins? Connect your intraoral scanner to Next Dental Lab today.
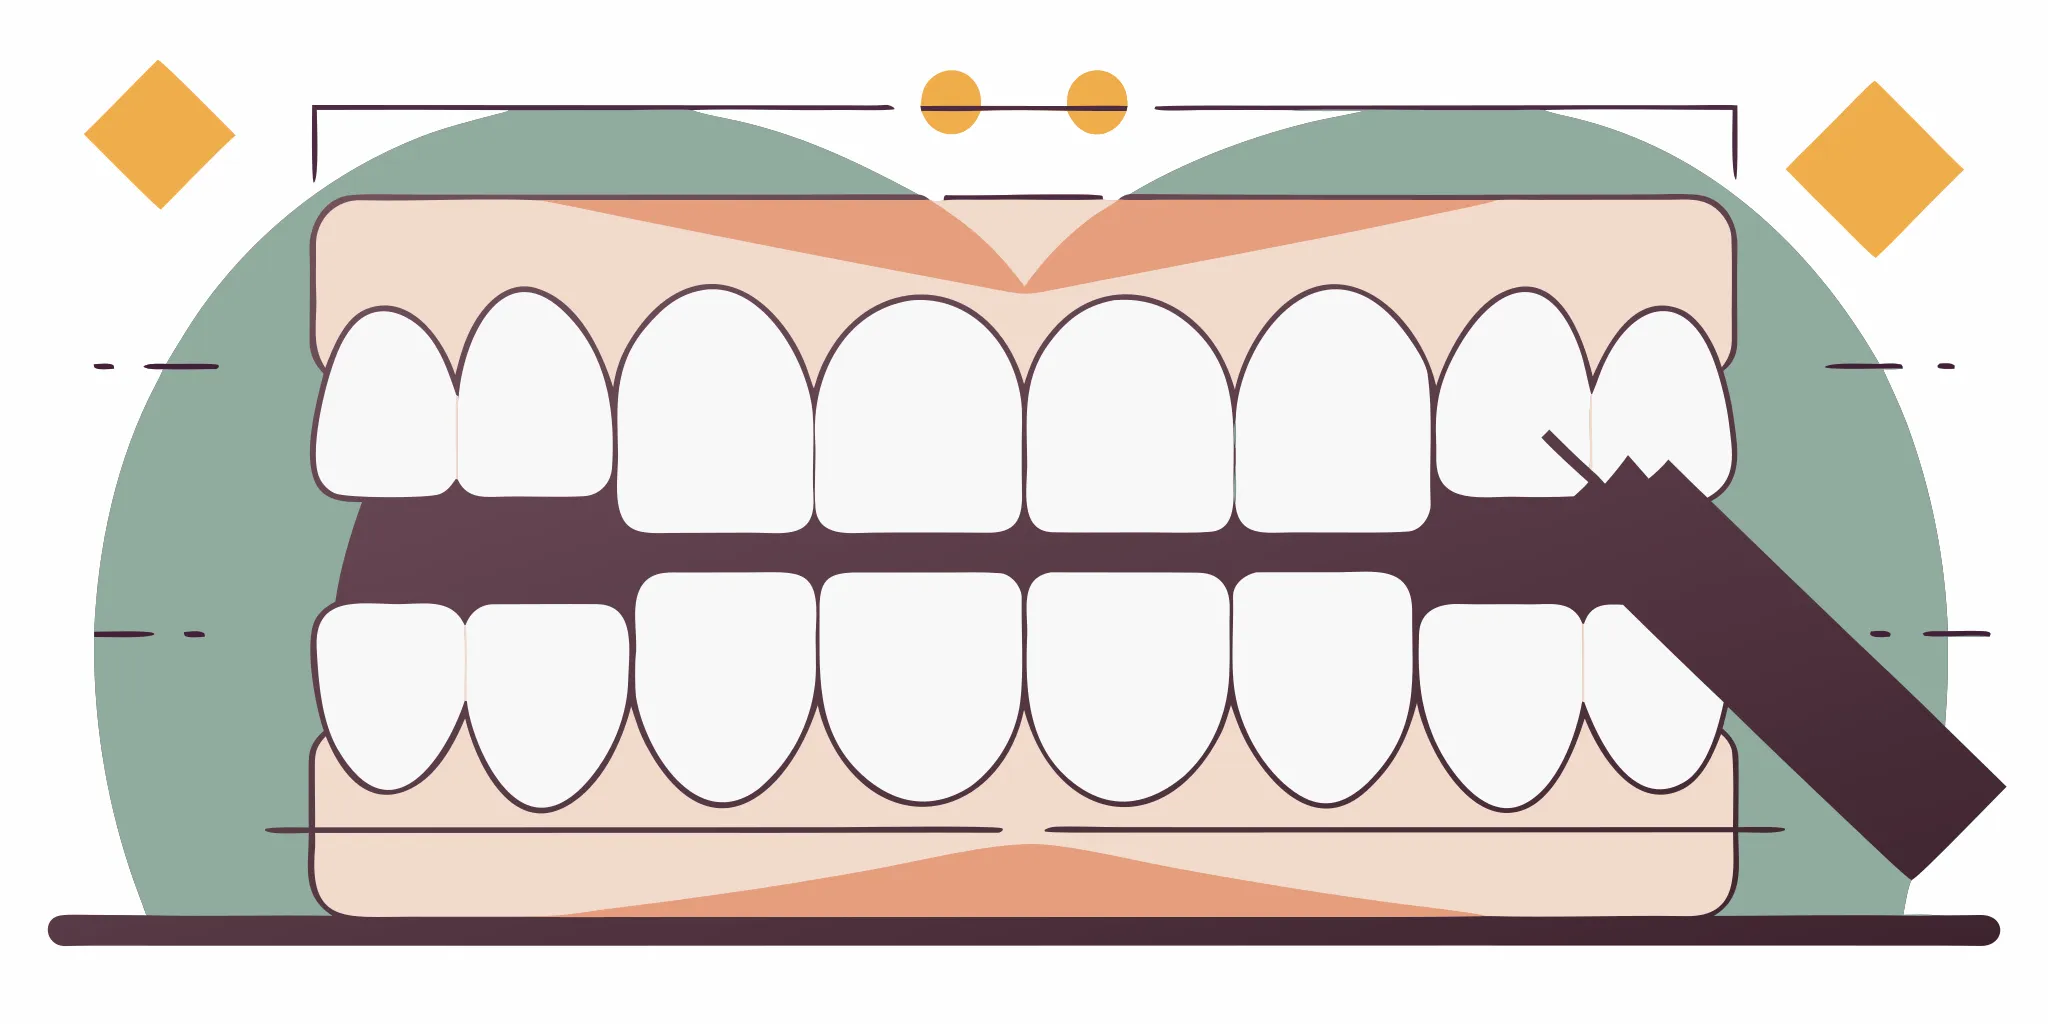
Modern dentistry offers several ways to prepare a tooth for a final crown. Understanding how to use each finish line will help you get better results from your digital lab. Let’s examine the specific configurations of shoulder, chamfer, and feather-edge designs to understand how they perform under digital analysis.
What Are the Clinical Differences in Crown Prep Margin Design?
Crown prep margin design directly helps the success of digital scanning and the fit of CAD/CAM milling. Precise finish lines like the shoulder or chamfer are critical for getting a passive fit and high quality in modern dental crowns. A shoulder margin provides a distinct 90-degree angle for clear ceramic lines. In contrast, a chamfer margin offers a rounded edge that works for many crown materials. Both designs help scanners capture the ±20µm fit needed to beat traditional mold methods. According to research on marginal adaptation, there is no large difference in the fit between shoulder and chamfer designs for zirconia crowns. Selecting the best margin ensures the lab can mill a crown that seats perfectly without a technique-sensitive cleanup. This precision reduces the need for office changes and improves the care for every patient.
The success of a fixed restoration starts with a clear finish line. A precise zirconia crown prep margin design helps the lab find the edge of the tooth. This choice affects the strength of the crown and the health of the gingiva. Doctors usually choose between shoulder, chamfer, or feather-edge shapes based on the material used.
Shoulder and Chamfer: The Standards for Modern Restorations
Shoulder margins provide a 90-degree angle to the tooth surface. This design offers a flat seat that supports ceramic well. It is often the top choice for all-ceramic crowns that need thick edges for strength. But a shoulder can be hard to prep without leaving sharp spots.
Research shows that shoulder finish lines can lead to higher gaps in some milled crowns. This happens if the design does not allow for a proper cement space. Doctors must ensure the prep is smooth to avoid these fitting issues in the final product.
Chamfer margins feature a curved or rounded edge. This sloped design is a top choice for many dentists because it is easy to scan. It provides enough space for the material while keeping the tooth structure strong. For zirconia, studies find no major difference in marginal fit between shoulder and chamfer designs.
Most labs prefer a deep chamfer for zirconia because it creates a clear path for the mill tool. The rounded shape helps the scanner capture the full margin without shadows. This leads to a more accurate digital model and a better crown fit.
| Margin Type | Margin Shape | Reduction Level | Best Material | Digital Scan Ease |
|---|---|---|---|---|
| Shoulder Margin | 90-degree butt joint. This provides a flat seat. | High (1.0 to 1.5 mm). This requires more reduction. | Porcelain, Emax. These are highly esthetic. | Moderate Ease |
| Chamfer Margin | Sloped, rounded curve. This is easy to scan. | Moderate (0.5 to 1.0 mm). This is easy to prepare. | Zirconia, PFM, Gold. These are strong materials. | High Ease |
| Feather-Edge Margin | Tapered knife-edge. This is used for gold. | Low (0.3 to 0.5 mm). This preserves tooth structure. | Full Gold, Metal. These are durable options. | Low Ease |
The Role of Feather-Edge Margins in Minimal Reduction
Feather-edge margins, also called knife-edge, require very little tooth reduction. They are useful when a tooth has long roots or is tipped. Metal alloys work best here because they can be made in thin layers. But these margins are hard to see on a screen.
A thin edge often blends into the gingiva during a scan. This makes it hard for the lab to find the exact line. Most labs suggest avoiding this design for ceramic unless the case leaves no other choice. Clean margins are vital for any digital workflow to succeed.
Optimizing Margin Design for CAD/CAM Success
A good margin design for digital scans must be smooth. Scanners work best when they can see the entire prep without shadows. Rough edges or sharp angles can confuse the software. This leads to gaps or thin spots in the final crown.
When the prep is clean, the mill can cut the crown with high precision. This focus on margin detail helps doctors reduce remakes and get a good fit on the first try. High quality dental labs rely on these clear preps to ship the best restorations.
Why Is Proper Crown Prep Margin Design Critical for Intraoral Scanning Accuracy?
The switch to digital dentistry puts a high demand on the quality of tooth prep. While digital scans offer a high accuracy of about ±20μm, the final crown fit depends on how well the scanner sees the prep edge. Getting this level of care needs a clear crown prep margin design that helps the scanner find the finish line without a blurred image.
Light and Scan Path Visibility
Scanners use light to make a digital model of the tooth. If the prep has sharp angles or hidden spots, the scanner may not see the whole surface. Deep spots or vertical lines can make shadows that lead to gaps in the data. A clear edge allows for better margin design for digital scans by making sure light hits every part of the line. This view is vital for the tool to map the edge with high accuracy.
Accuracy with Shoulder and Chamfer Designs
Tests show that proper crown prep margin design, such as a shoulder or chamfer, is key for marginal fit and good CAD/CAM milling. A shoulder margin gives a sharp 90-degree angle, while a chamfer gives a smooth, round edge. Both styles make a clear look that scanners can find. When the edge is sharp, the lab can design a crown with a passive fit, which helps the work last longer.
Stopping Digital Gaps and Remakes
Bad margins are a top cause of digital gaps. When the scanner cannot find a clear edge, the CAD tool may guess where the line is. This often leads to crowns that are too short or have open edges. Using a digital path can lower remake rates by 50% compared to old ways, but only if the first prep is good. By using a clear zirconia crown prep margin design, you make sure the lab gets a clean file for a good result.
How Do You Optimize Prep Margins for Better CAD/CAM Milling and Passivity?
Proper crown prep margin design is the core of a good fit. When you use digital tools, your prep needs to be very clear. Digital scans reach a level of detail of about ±20μm. This is much better than the ±50μm found in old-style impressions. This sharpness helps a lab design a crown that fits well. But the software and the milling unit still need a clear path to follow. A blurry margin will lead to a crown that does not sit right on the tooth.
Clear Finish Lines for Digital Detail
A sharp finish line is vital for margin design for digital scans. CAD software must find the edge of your prep to form a seal. If the margin is rough or hard to see, the software might guess its location. This often leads to a crown that is too long or too short. A clean margin leads to a 50% drop in remake rates when you use a digital workflow. It also ensures the milling tool can cut the crown without breaking the thin edges of the crown.
The Role of Margin Type in CAD Design
Most doctors use a shoulder or a chamfer design for their preps. Studies on zirconia crowns show that there is no big difference in the marginal fit between these two styles. Both work well for solid zirconia if the edges are smooth and even. But a shoulder finish line with a 10-degree taper can sometimes lead to higher marginal gaps in milled crowns. To avoid this, keep your prep walls more straight and avoid sharp inner angles.
Better Prep Workflow for Digital Success
Making a crown that fits the first time requires a steady hand and a clear plan. A passive fit means the crown sits on the tooth without any force or stress. This helps prevent the crown from cracking later. It also keeps the cement bond strong for a long time. Your lab can adjust the digital design to add a thicker cement spacer if your prep is complex. Using these steps will help you get a better result with less chair time for your patients.
Five Steps to Improve Your Prep Margins
Following a set routine helps you avoid common scan errors. These steps focus on the areas where the scanner often fails to capture good data.
- Break all proximal contacts. You should have at least 0.5mm of space between your prep and the teeth next to it. This gap allows the scanner to see and map the full margin without any blind spots.
- Smooth the margin with a fine bur. A smooth finish line prevents “noise” in the digital file. Rough edges can confuse the CAD software. A smooth path also helps the milling tool cut the crown without any chips.
- Use retraction to clear the tissue. You must move the gums away from the finish line using cord or a laser. The scanner must have a clear line of sight to the margin. This is the only way to get a good seal.
- Run an undercut check in the software. Most intraoral scanners have a tool that highlights undercuts. Fix these spots before you send the scan to the lab. This ensures the crown will slide into place easily.
- Review the scan data closely. Zoom in on the margin on your scanner screen before you finish the case. If the edge looks fuzzy or broken on the screen, the lab will not be able to design a good crown.
Shoulder vs Chamfer Margin: Which Leads to Superior Marginal Fit?
Choosing the best zirconia crown prep margin design means balancing clinical needs with CAD/CAM limits. Both shoulder and chamfer designs are common in daily practice. Dentists often ask which one provides a better marginal fit. Research shows that both designs can achieve high success when done well. A key factor is crown prep margin design accuracy during the digital scan and milling process.
Marginal fit research findings
Clinical studies find no major difference in fit between these two designs for zirconia. For example, data shows there is not a statistically significant difference in fit between shoulder and chamfer margins for zirconia copings. This means neither design is clearly better for final fit alone. Both options allow for a passive seat and tight seals if the preparation is clear. High-quality crown and bridge results depend mostly on how clear the finish line is.
CAD/CAM milling and margin geometry
The choice of margin can change how well a system mills the crown. Some data shows that shoulder finish lines with low occlusal taper may lead to larger gaps in milled crowns. This is due to how milling burs move within the digital design. To solve this, lab software can adjust cement spacers to help the crown seat fully. Clear margins are vital for margin design for digital scans. They ensure the scanner captures the full prep edge without any blur.
Visibility and scanner accuracy
In digital dentistry, scanner visibility is the most vital part of the workflow. A chamfer margin often provides a smooth, curved edge. This shape is easy for intraoral scanners to read. A shoulder margin offers a sharp 90-degree angle. It can be very distinct but may create shadows if the prep is deep. For most zirconia cases, a deep chamfer or rounded shoulder works best. These shapes provide enough room for the material while keeping the finish line easy to see.
Frequently Asked Questions
What are the common crown prep margin designs?
Common crown preps often use four main margin designs: shoulder, chamfer, knife-edge, and bevel. The choice depends on the crown type and what the patient needs. Next Dental Lab says clear margins like shoulder or chamfer are key for getting an exact fit in digital work. These designs make sure the scanner finds a clear finish line. This leads to a better fit for the final crown.
Should I use shoulder or chamfer margins for zirconia?
Both designs work well for zirconia crowns. A study by the NIH found no big difference in how well these two designs fit. Shoulder margins have a sharp 90-degree angle. Chamfer margins have a curved edge. Both give the strong support and clear lines that modern ceramic types need. Your choice may depend on the tool you use to prep the tooth or the space you have.
When should I use feather-edge margins?
Feather-edge margins need very little tooth removal. This makes them useful in some cases. However, they are not as common for digital work. Scanners may find it hard to see a clear edge with this design. For the best CAD/CAM results, clear finish lines are usually better. If you use a feather-edge prep, make sure your scanner captures the area well to avoid fit issues in the final crown.
How does margin design affect digital crown accuracy?
Good margin design is vital for the fit of your crown. Clear margins help the CAD software create a better design and help the mill cut the crown for an exact fit. Research shows that poor margins can lead to larger gaps at the edge of the crown. By using clear shoulder or chamfer preps, you can reduce remake rates and improve final results.
Ready to improve your digital crown prep accuracy?
If you do not change how you design your crown prep margins, you will keep seeing poor scans and high remake rates for your cases. Slow turnaround times and ill fitting crowns can hurt your dental practice and cause stress for both your team and your patients every single day. By moving to a better shoulder or chamfer design today, you can get faster results and ensure that every new restoration fits your patients well. You can also check our crown and bridge services to see how we provide high quality results today for your team at your dental office.
Ready to connect? Sign up now to connect your intraoral scanner to Next Dental Lab and optimize your digital workflows today at your practice to get better outcomes.
