Full arch implant provisional workflow
A precise full arch implant provisional workflow begins with a clean digital scan and ends with a solid fit. It bridges the gap between the surgery day and the final prosthetic delivery.
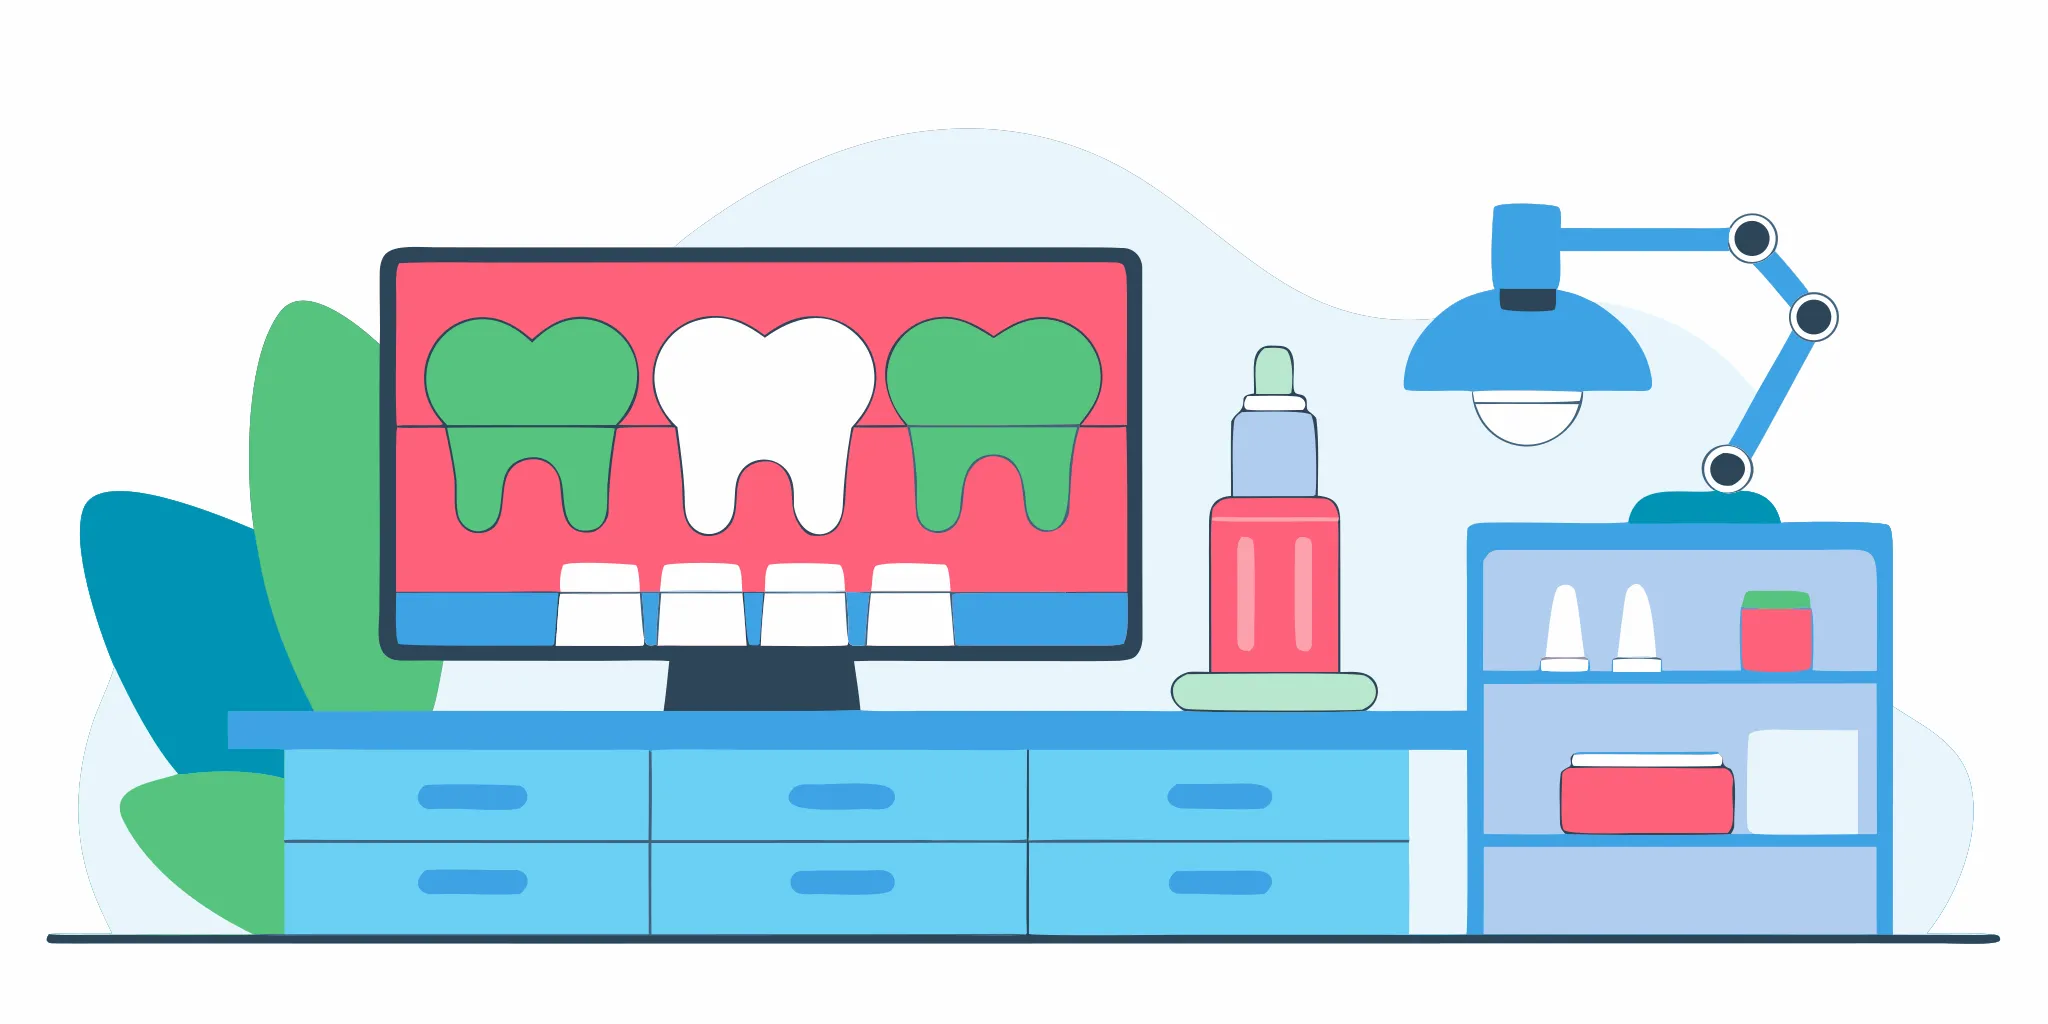
Connect your scanner and send precise digital case records to Next Dental Lab.
A full arch implant provisional workflow is a structured digital process that moves a case from the initial scan to the delivery of a temporary bridge. This system allows dental teams to test the fit, look, and bite of a prosthetic before the final version is made in the lab. By using guided surgery, clinicians can often complete these complex cases in less than three hours. According to medical research, modern digital workflows can perform full-arch rehabilitations in under 2 hours and 30 minutes (PMC11123051). This speed does not sacrifice quality, as the digital path ensures the provisional rests exactly where it should on the implants. It provides a reliable road map that makes the transition to the final restoration smooth and predictable for the doctor and the patient.
This process serves as a trial run that ensures the patient is happy with their new teeth. You must understand exactly what the full arch implant provisional workflow is designed to confirm. The path begins with a complete record set.
What the full arch implant provisional workflow is designed to confirm
The full arch implant provisional workflow is a key tool for dental teams. It acts as a bridge between surgery and the final fix. This phase helps teams check the fit and look of the teeth before making the final piece. By using a temporary set, your lab can find and fix small issues in the digital All-on-4 workflow. This step ensures that the final product meets both the clinical needs and the patient’s hopes.
Testing the fit and function
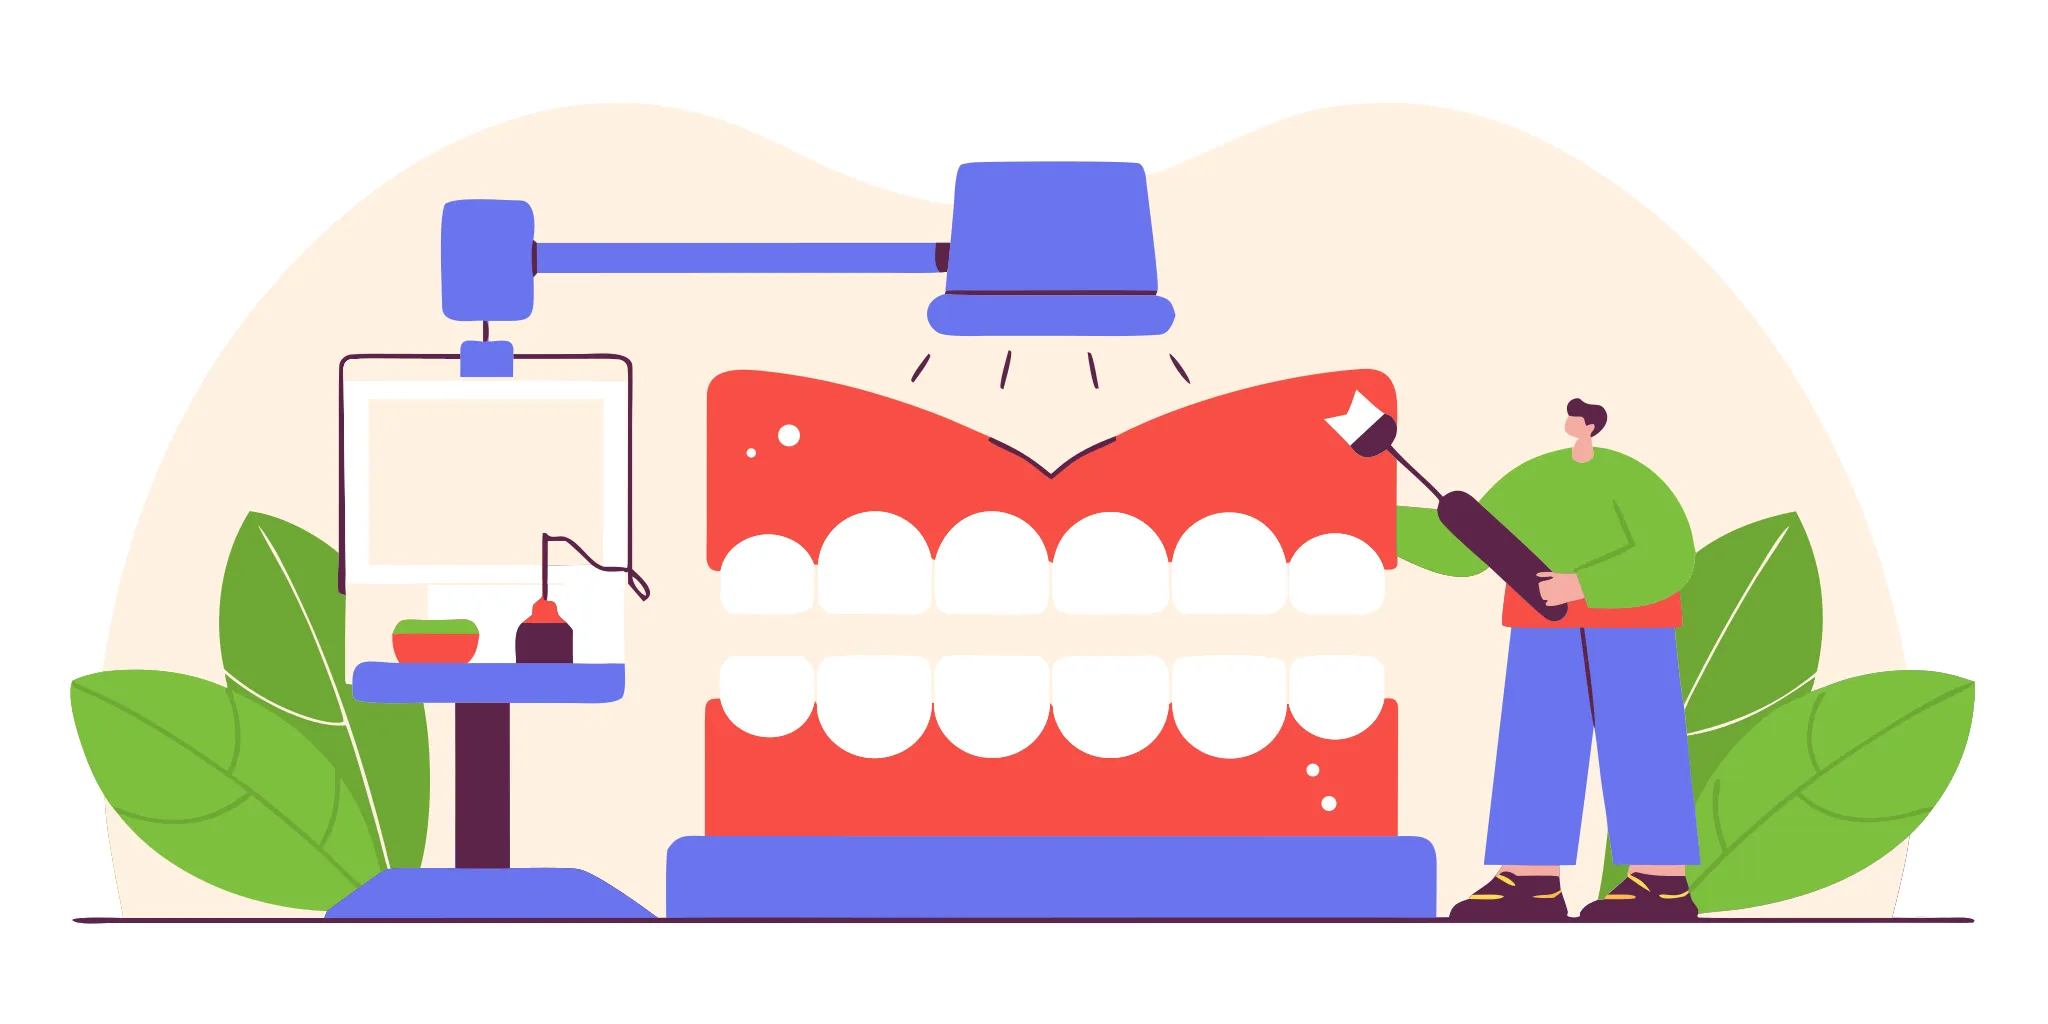
One main goal is to test how the new teeth work in the mouth. A printed temporary set allows the dentist to see if the bite is right. It also shows if the immediate loading plan was a success. Since full-arch work replaces 10 to 14 teeth, the fit must be exact. This period gives the team time to make sure the patient can chew and speak well with the new arch.
The lab uses these results to tweak the final design. For example, if the bite feels off, the lab can change the digital file easily. This reduces the risk of major changes later. Using a digital hybrid denture workflow helps keep these updates fast and accurate. It keeps the project on track and helps avoid delays in the final seat.
Guiding tissue and bone healing
The provisional phase also helps the gums heal in the right way. A well-made temporary piece supports the tissue and keeps its shape. This is vital for a good look where the teeth meet the gums. Using guided implant surgery ensures the implants are in the best spot. This makes it easier for the provisional teeth to guide the healing process correctly.
This phase is not just about looks; it is about health. It lets the bone and tissue bond with the implants without too much stress. The lab and clinic work together to watch this growth. They can use the temporary set to see how the mouth reacts over a few weeks or months. This data is key to making a final fix that lasts a long time.
Stage 1: Build a complete diagnostic record set
A successful full arch implant provisional workflow starts with precise data. To build a great prosthetic, the lab needs more than just a scan of the treatment area. We need a full set of records to see how the new teeth will fit with the patient’s face and bite. This stage sets the path for a predictable result and a smooth surgery day.
Gathering digital scan data
Most modern cases use cone beam CT (CBCT) scans mixed with intraoral scans. This mix helps the lab see both bone structure and soft tissue in one view. You should capture the full arch, the opposing teeth, and the patient’s bite in its current state. A clear digital view allows the lab to plan the tooth placement before any work starts on the patient.
We also need to know your goals for the final look. If the patient has old photos or a current denture they like, those help us map the new smile. Sharing these details early prevents changes later. You can send your scans to us through our portal to get the process moving fast.
Essential record components
To ensure a precise fit for the provisional, you should follow these steps when collecting records:
- Capture high-quality intraoral scans of the upper and lower arches.
- Record a stable bite that shows how the arches meet.
- Take digital photos of the patient’s face and smile from several angles.
- Provide a CBCT scan to map out the bone and implant sites.
- Note the shade and tooth shape goals for the temporary bridge.
- Send speech and lip support notes for the patient.
Verifying the record package
Before sending the case, check that all scans are clean and sharp. Look for holes in the data or blurry spots on the teeth. A complete package helps us use guided surgery plans to save time. When the records are right, the surgery and the new provisional fit will be more accurate for the patient.
Stage 2: Align the treatment plan before provisional design
Success in a full arch implant provisional workflow starts with a clear plan between the clinic and the lab. Before we start the digital design, every detail of the case must be clear. This stage is where we align on the clinical facts and the patient’s needs. Taking the time to get this right prevents costly changes later in the process.
Confirm implant and system details
The first step is to check all implant facts. We need to know the brand, size, and type of every implant. We also need to see where they sit in the bone. A clear virtual treatment plan helps us guide these placements for the best fit. Knowing these details lets us choose the right parts for the case.
We look at the primary stability of each site. Implants often need a force over 32 N.cm to support a bridge right away. If the fit is not tight, we may need to change the plan. Our team works with your All-on-4 dental lab services to ensure all parts match the system you use. This helps us avoid errors when we build the provisional teeth.
Check space and look
Next, we check the space for the new teeth. There must be enough room for the bridge and the parts that hold it. If the space is too small, the bridge could break. We check the lip support and the smile line to make sure the patient will like the look. This is the time to review photos and notes on how the patient wants their new smile to appear.
- Measure the gap between the upper and lower arches.
- Review the midline and the height of the teeth.
- Confirm the gum position in the final look.
Good lab work needs clear data from the start. We use your scans to see the soft tissue and the bone. This data lets us find the right path for the teeth. It also helps us set the bite so the patient can chew with ease. By checking these points now, we make sure the digital All-on-4 workflow stays on track.
Set goals for speech and bite
We also need to think about how the patient will speak and eat. The teeth must be in the right spot for the tongue to move. This helps the patient make clear sounds when they talk. We look at the bite to make sure the force is spread out. This stops the implants from taking too much stress. If anything is unclear, we stop and ask questions to clear up the unknown points.
Unclear info ruins a good fit. We want to know if the patient has a heavy bite or if they grind their teeth. These facts change how we design the provisional bridge. Our goal is to give you a tool that works well from day one. When we align on these goals, we can move to the design phase with trust. This leads to a better result for you and your patient.
Stage 3: Review the provisional as a working prototype
The provisional stage is a big part of the digital All-on-4 workflow. It is more than just a short-term fix for missing teeth. This stage lets you test how the teeth look and feel before the final build.
A full arch implant provisional workflow turns the temporary set into a working prototype. This model helps you find and fix issues while the patient uses the teeth every day.
Testing fit and clinical function
Doctors should check the fit of the teeth right after they go in. The provisional is often relined and locked onto titanium abutments to stay in place (PubMed). This firm fit is key for testing how the patient bites and chews.
You must check the bite to make sure the teeth meet well. If the bite is off, it can cause pain or damage the implants later on.
Speech and cleaning access are also high goals during this review. The patient needs to speak clearly without a lisp. You also need to make sure there is enough room for the patient to clean under the bridge.
If a patient cannot reach the area with a brush or floss, a new infection can start. Next Dental Lab helps you plan these spaces during the digital design phase to make care easy.
| Design Goal | Provisional Prototype | Final Restoration |
|---|---|---|
| Primary Focus | Testing and function | Durability and looks |
| Material Type | Printed or milled resin | Zirconia or titanium hybrid |
| Occlusion | Easy to change | Locked in for long term |
| Hygiene Space | Testing access paths | Proven easy to clean |
Checking looks and patient feedback
The look of the teeth is often what patients care about most. At this stage, the patient can see how the new teeth fill their smile. They can check the tooth shape, color, and how the gums look.
It is helpful to take photos of the patient as they smile and talk. These photos help the lab team make fine changes for the final set. Digital tools allow for fast edits based on these images.
Patient feedback is a major source of data for the lab. They might feel the teeth are too long or too thick. They might want a different shade or a small change in where a tooth sits.
Since this is a working prototype, these changes are easy to track. Finding these things out now prevents costly remakes later in the process. The goal is a design that the patient loves and that works well (PMC).
Writing down changes for the final build
Every change made to the provisional must be written down. If you grind down a high spot or fill a gap, the lab needs to know. You can scan the changed teeth and send that file back to us.
This ensures the final teeth will be a perfect copy of the tested prototype. A clear record of these edits makes the path from prototype to final much smoother.
This feedback loop is the heart of a good workflow. It moves the process from guessing to knowing. By the time the final teeth are made, both the doctor and patient are sure they will work.
This stage builds trust and ensures the patient is happy. Next Dental Lab uses this data to provide a final product that fits right the first time.
Explore All-on-4 hybrid denture options for the approved final design.
How should provisional changes be communicated to the lab?
Clear data sharing is key to a smooth digital All-on-4 workflow. When you send changes to the lab, you must be clear. The lab needs to know what to change and what to keep. Good notes and clear files help us make a better final piece for your patient. Clear details in the early stage prevent delays later in the process.
Digital tools allow for fast data sharing between your office and the lab. Using digital case links makes this team work easier. It helps us find and fix small fit issues before the final build. This saves time for you and your patient. It also ensures that the final result matches the patient’s goals.
Using notes and photos
The best way to show changes is with clear photos and scan files. Take photos of the provisional in the mouth from many angles. Mark these photos to show where the fit or look needs to change. You can use arrows or circles to point out high spots or thin areas. These visual cues tell us what your eyes are seeing in the clinic.
Add short notes for every change you want. For example, if the bite is off, tell us by how much in millimeters. This helps us use our tools to match your clinical needs. Clear notes lower the risk of errors during the digital hybrid denture workflow. High-quality notes are the bridge between your chairside work and our lab tech’s design.
Highlighting changes and good parts
It is just as vital to tell the lab what is working well. If the patient likes the tooth shape but wants a shorter length, let us know. Clearly mark which parts are good and which need a fix. This keeps the design process moving in the right way. It also prevents us from changing something that the patient already loves.
Prototyped digital designs let you check how well the provisional fits. This check happens before we make the final piece. You can see more about this in this study on digital prototypes. By marking the good parts, we can focus our work only on the areas that need a change.
The final approval check
Combine all your notes into one single check. Sending many small updates can lead to a mix-up and lost time. Wait until you have a full list of changes from the patient’s trial period. Then, send one clear file with all the needed data. This makes the lab’s task much simpler and faster.
A single approval point ensures that every team member sees the same plan. This method helps us give you lab services that are fast and reliable. We can work with you to make sure every tooth looks and feels just right. Digital scanner connections also help by cutting down on wait times for these complex cases.
Stage 4: Transfer an approved provisional to the final restoration
The final step in the digital All-on-4 workflow is moving from a temporary set of teeth to the final ones. You only start this stage once the patient likes how the provisional teeth look and feel. This period is the test phase for the full restoration. It is when you make sure the bite and smile are right before we use more costly parts. The provisional acts as a blueprint that the lab will follow to make the permanent piece.
Confirm the provisional fit
Before moving to the final stage, you must confirm that the provisional tooth set works well. The patient should wear the temporary teeth for a few weeks to test them. During this time, they will check their speech and bite. You also check how the gums look around the implants. If any changes are needed, you should make them on the provisional first. Do not move forward until the patient is happy with every detail.
A virtual treatment plan helps you track these small changes. You can use digital tools to see where the teeth need to move. It is much easier to fix a problem on a plastic prototype than on the final metal or ceramic piece. Once the patient gives their okay, you have the plan for the permanent set. This check step is vital to avoid costly mistakes later in the case. By testing the fit now, you ensure the final result meets all clinical goals.
Key records for the final restoration
To make the final piece, the lab needs specific records. You will need to take a new scan of the approved provisional while it is in the mouth. This scan shows us where the teeth are and how they look. You also need to scan the implants and the soft tissue after removing the provisional. These scans help the lab tech align everything with the digital file. This data is the bridge between the trial phase and the final build.
Clear data is key for all-on-4 hybrid dentures. The lab uses the scan of the provisional as a guide for the final shape. This method keeps the same look and feel that the patient already likes. Good data transfer makes the work faster and helps avoid errors. It ensures that the final set fits just like the one the patient tested. We use these records to build the internal bar and the outer teeth.
Why the provisional must be perfect
The final restoration is not the place to fix big issues. It is meant to copy a design that you know already works. If the bite is off or the teeth look wrong on the provisional, the final teeth will have the same flaws. The goal of the temporary teeth is to find and fix those bugs early in the process. You want the final seat to be a simple and quick visit.
Using digital workflow tools allows you to check the fit before the lab starts the final build. This saves time and prevents remakes. When you send us an approved design, we can focus on making a strong and beautiful final piece. The move should be smooth because all the hard work was done during the trial phase. This leads to a better result for you and your patient. It also builds trust with the patient as they see the progress.
Communication checkpoints that keep the case moving
A smooth full arch implant provisional workflow relies on clear talk between the clinic and the lab. When both teams share data well, they reduce the risk of costly remakes. These set checkpoints help keep your case on track and on time. Clear steps ensure that each team knows its role at every stage of the process.
Initial data intake and review
The process starts the moment you send the case data to the lab. The clinic must provide clean intraoral scans and clear CBCT files. Our lab then checks this data for gaps or blurry spots right away. We use digital scanner links to help reduce timing and gain a better fit. By catching errors now, we avoid delays at the chair. The lab takes the lead on data review. At the same time, the practice ensures all patient records and photos are ready.
Pre-design and plan match
Before we print any parts, we must agree on the virtual plan. We look at where the implants will sit and how the teeth will line up. Modern tools let us build a 3D plan that shows the result before the doctor starts the surgery. A custom surgical guide ensures we place the implants in the right spots. This step is a shared task. The doctor reviews the plan for clinical fit. The lab tech ensures the design is strong and follows the case needs.
Provisional review and fit check
The provisional phase is a vital test for the final teeth. A printed temporary lets the patient try out the look and feel of their new smile. This stage often happens right after the implants are set. In fact, modern digital workflows can complete full-arch work in under 2.5 hours. The doctor must check the bite and how the teeth meet. Using a digital All-on-4 workflow makes this step much faster than old ways. The patient can give feedback on comfort while the implants heal.
Changes and final approval
We use the feedback from the provisional trial to make the final piece perfect. If the patient wants a small change in tooth shape or shade, we make that edit in our software. This “test drive” prevents issues during the final seat. This phase avoids the need for a total redo once the final arch is milled.
- The clinic reports any spots that feel high or tight in the mouth.
- The lab updates the 3D file based on these notes.
- Both teams sign off on the design before we start the final work.
This plan keeps the case moving with no loose ends. It ensures the lab and the practice work as one team to give the patient the best result. By following these steps, you can save time and keep your patients happy.
Contact Next Dental Lab to plan your next full-arch case.
Frequently Asked Questions
These answers cover the most common questions about digital planning, provisionals, timing, and scan records.
How does a digital workflow improve full-arch implant treatment?
A digital workflow uses tools like intraoral scans and CBCT imaging to create a precise virtual plan. This method helps labs and dentists work together with greater accuracy than older manual ways. According to Next Dental Lab, these scanner connections also cut down the time it takes to get results. This leads to better outcomes for the final teeth and a smoother process for everyone.
Why use a provisional prosthesis in a full-arch implant workflow?
A provisional prosthesis is a temporary set of teeth used while the mouth heals. It lets patients test the look and feel of their new smile before the final bridge is made. As noted by the National Library of Medicine, these prototypes give fast results and keep patients comfortable. Using a digital workflow for this step ensures a better fit. It also helps the lab make changes for the final teeth.
How long does the digital workflow for full-arch implant rehabilitation take?
Modern digital steps can make the surgery and fitting process very fast. Research from the National Institutes of Health shows that these workflows can complete the main steps in less than three hours. This time includes putting in the implants and connecting the temporary teeth. This speed is much better for the patient. It also allows the dental team to finish the work with high precision in one office visit.
What is the role of digital scans in the provisional workflow?
Digital scans replace the old messy molds used to capture a patient’s mouth. These scans provide the lab with precise data to build a virtual plan for the entire treatment. This information is key for making both the surgical guide and the temporary teeth. By using digital scans, labs can ensure that the provisional teeth fit well and look natural. This digital start makes the whole process much more reliable.
Ready to start your next full-arch case?
Delaying your move to a digital workflow can cause real setbacks for your dental practice and patient care. Each day you wait is a day spent with slower turn times and more manual work that takes away from your time. If you do not move toward a scan-to-final process now, you may fall behind other clinics that use these tools. Our digital All-on-4 workflow gives you better precision and faster results for every patient case. When you work with our lab, you get the support you need to make the switch with ease. Taking this step now will help your team work faster and better than ever before.
Ready to connect? Contact us today to connect with the lab about your next full-arch case.
